How to Craft a Plastic Chair Using an Injection Molding Machine
The injection molding process has revolutionized the manufacturing of plastic products, making it efficient and versatile. In this guide, we will take you through the step-by-step process of creating a plastic chair using an injection molding machine, with a focus on the essential plastic mold components required for the task.
Table of contents
Step 1: Designing the Plastic Chair
Before you begin, you need a well-thought-out design for your plastic chair. This design will serve as the blueprint for your mold. It should specify the chair’s dimensions, shape, and any intricate details.
Step 2: Mold Design
Once you have your chair design, the next crucial step is designing the mold. The mold consists of two halves, the “A-side” and “B-side,” that come together to form the chair’s shape. Here are the essential mold components you’ll need:
- Cavity Plate: This is where the molten plastic is injected. It’s usually on the A-side.
- Core Plate: The core plate shapes the inside of the chair and is typically on the B-side.
- Sprue Bushing: This component connects the injection molding machine to the mold and allows the plastic to flow into the cavity.
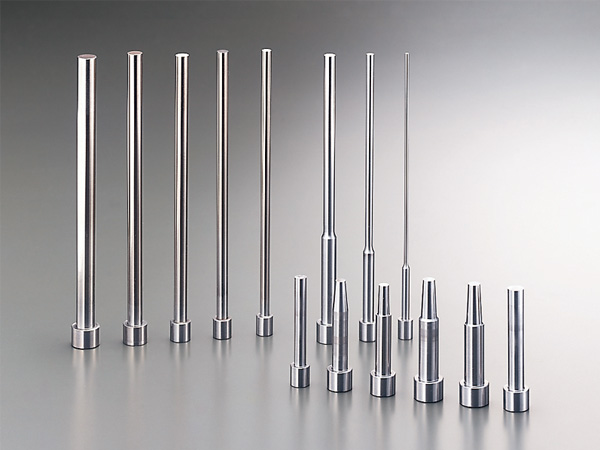
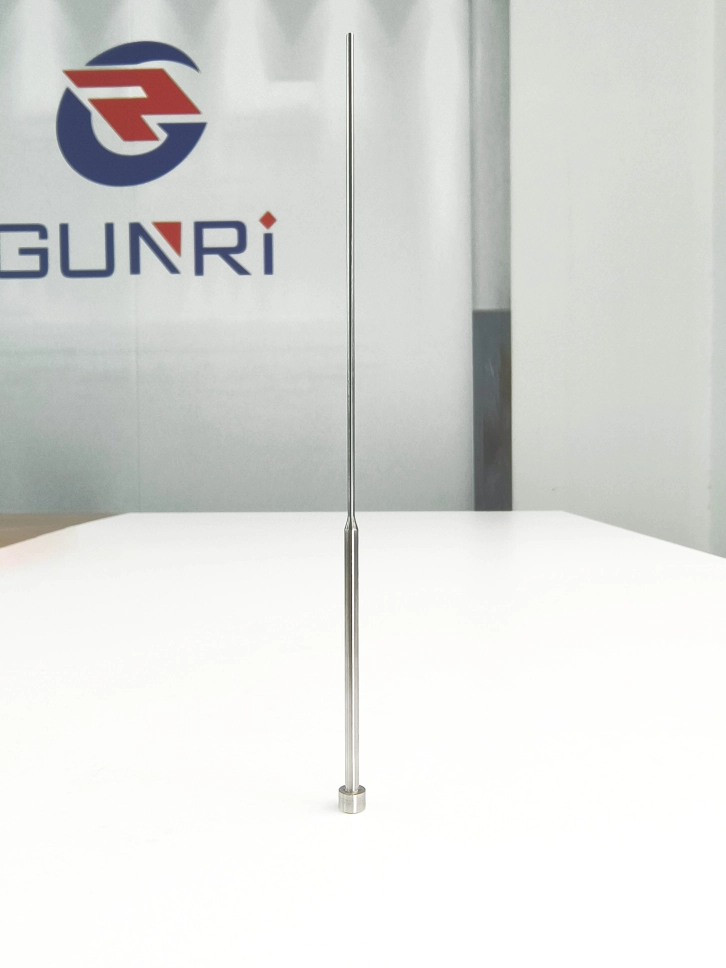
- Ejector Pins: Ejector pins help remove the molded chair from the mold once it has cooled.
- Cooling Channels: These ensure uniform cooling of the mold to prevent warping or deformities in the plastic.
Step 3: Preparing the Injection Molding Machine
Ensure that your injection molding machine is set up correctly. This includes heating the barrel to the right temperature for your chosen plastic material and configuring the machine to apply the appropriate pressure and speed during injection.
Step 4: Molding Process
With your mold and machine ready, it’s time to start the injection molding process:
- Clamping: Close the mold halves together tightly, securing them in place with the clamping unit.
- Injection: The plastic material, typically in pellet form, is heated and injected into the cavity through the sprue bushing.
- Cooling: Allow the plastic to cool and solidify inside the mold. Cooling channels help expedite this process.
- Ejection: Once the plastic has cooled, ejector pins push the chair out of the mold. This process must be carefully timed to avoid damaging the chair.
Step 5: Quality Control
Inspect the molded plastic chair for any defects or imperfections. It’s crucial to maintain the integrity of your mold and machine to ensure consistent quality.
Step 6: Post-Processing
Depending on your design, you may need to trim excess plastic, add finishing touches, or assemble multiple chair components together.
Step 7: Final Inspection
Thoroughly inspect the finished plastic chair to ensure it meets your design specifications and quality standards.
crafting a plastic chair using an injection molding machine is a precise and controlled process that relies heavily on well-designed mold components. With attention to detail and adherence to the steps outlined above, you can efficiently produce high-quality plastic chairs for various applications.
Gunri can provide the relevant plastic mold components, feel free to inquire.


