Mastering the Machining of Ejector-Pin Holes in Injection Molds
When it comes to the precision art of mold-making, understanding how to machine ejector-pin holes is a critical skill. Let’s delve into the intricacies of this process, exploring various methods, expert tips, and important considerations to ensure flawless results.
The Foundation: Preparation and Plate Machining
Before embarking on hole installation, it’s paramount to lay a solid foundation. Each mold plate must undergo meticulous grinding to achieve a flat surface and perfect squareness. In the past, a technique known as “line boring” was employed to align larger holes for leader pins, return pins, and guide pins when plates were stacked together. However, the evolution of precision CNC machines has rendered this practice obsolete. The modern CNC technology delivers outstanding positional accuracy, typically achieving ±0.001 inches. With finely ground mold plate edges, even higher precision is attainable, enhancing the accuracy of setup in the milling process.

Methodology Insights: Ejector-Pin Hole Installation
Some skilled mold makers prefer a unique approach – installing all ejector-pin holes from the front of the core before shaping it. While this method ensures exceptional positional accuracy, it introduces challenges during the milling stage due to frequent interruptions in the cutting process. While this might suit softer materials like aluminum, it poses a risk of tool breakage when dealing with tougher tool steel. Another golden rule to remember is to avoid finalizing the installation of ejector pins before heat treating. Heat treating can cause steel to expand or warp, which can misalign the meticulously placed holes.
Navigating Frontal Drilling: A Delicate Art
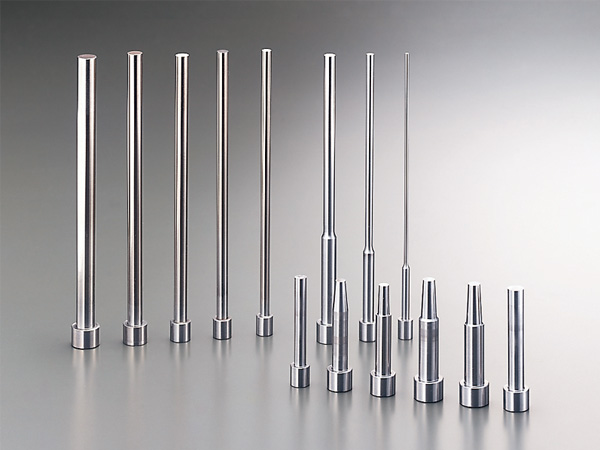
Frontal drilling of ejector-pin holes demands special attention. This process leaves a slight chamfer or bell mouth on the hole’s surface. It’s a practice that should be undertaken with caution – never drill from the front unless there’s excess material that can be removed later. In cases where the core is thick or composed of pre-hardened steel and the pin diameter is small, there’s a risk of the drill bit “drifting,” “walking,” or deviating from its intended position during cutting. A workaround involves drilling a smaller-diameter hole from the front and subsequently drilling and reaming it to the final size from the back. While drilling from the back might leave a subtle burr upon breakthrough, it’s easily rectified.
Finishing Touches: Countersinks and Lead-Ins
As you finalize the ejector-pin hole installation, don’t overlook the importance of countersinking. Adding a countersink to the clearance holes at the back of the core and the support plate creates a smooth transition for the pins, preventing any unwanted snags or disturbances during operation.
In Conclusion
Machining ejector-pin holes in injection molds is a precise and intricate process that demands attention to detail and expertise. By understanding the methods, considerations, and techniques involved, mold makers can ensure flawless results, consistent accuracy, and the creation of molds that stand up to the most rigorous manufacturing challenges.


